Recently, my in-laws purchased a large lot of land and gifted my husband and I with 8 acres to build on! Can you believe that? 8 acres! We are so excited to build our dream home, but in the mean time, we are working to clear the land (blog post soon on that). In addition, we have been slowly making improvements to our current home so it is ready to sell when it’s time to build.
If you have followed us recently you know I’m kind of a hot mess, so fixing up my house is terrifying! I decided my first project would be to update our master bathroom cabinets. I know what you are thinking… way to start small but I’ve disliked our cabinets since the day we bought this home. There were so many other things I loved about this house that I overlooked it. Not wanting to bank on someone else being willing to overlook the honey colored, builder cabinets, I decided it was time to give them a makeover. So, where does one go for ways to update cabinets that doesn’t involve a lot of knowledge? Pinterest of course! I searched through Pins and it didn’t take long to notice about 90% of them were using this gel stain. After reading a few blog posts about using the stain, I decided it seemed easy enough and I would give it a go.
These are my cabinets before.

What you need: General Finishes Gel Stain in Java, General Finishes Gel Topcoat, foam brushes, sanding block
Step 1: Take all the doors and drawers off the vanity and lightly sand everything with a sanding block. I’ve read other bloggers who didn’t do this step and it didn’t affect the end result; however, I wanted to ensure I got the best results.
Step 2: Wipe the cabinets clean with water and let them dry for about an hour.
Step 3: Using a foam brush, apply a thin layer of the Java Gel stain on the cabinet doors and the vanity. Let dry for 24 hours.

Step 4: Using the foam brush, apply addition coats (waiting 24 hours between each coat), until the desired color is reached. I did 3 thin coats to achieve a less painted look and let a little of the lighter wood show through. For a more consistent look, do additional coats.
2 coats
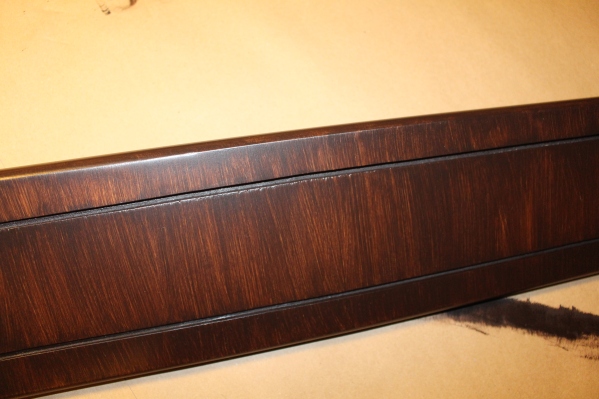
3 coats

Step 5: Using the foam brush, apply 3-4 coats of the Gel Topcoat (waiting 24 hours between coats).
Step 6: Put the doors and drawers back on the vanity. I added new oil rubbed bronze knobs to finish the look off.

Overall, I’m very pleased with the result and it only cost me about $70.
Next, I plan to update the lighting fixtures, so stayed tuned for how that turns out.
-CeCe
Leave a comment and let me know if you have tried the Java Gel Stain or plan to try it.
